
Creative things such as painting or sketching should not be restricted by rules or instructions. You are to follow your sense of aesthetics in order to paint or draw whatever you like in your preferred style and colors. Yet, there are certain things you should know so that you do not waste time or your paint. An example is the wetting of paintbrushes.
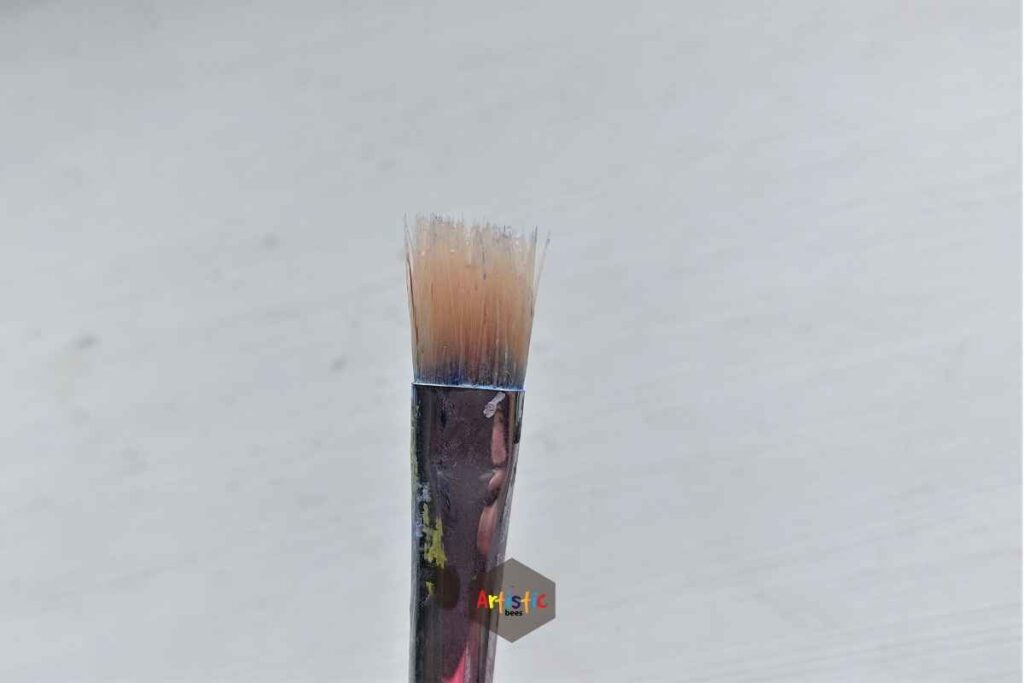
Usually, water is used to wet the paintbrushes, but when it comes to oil painting, you must not use water anywhere because oil and water repel each other. Hence, water will not help get the paint off your brush or even your hands. You have to use alternatives because wetting the paintbrushes is a necessary step.
Not being able to include water might limit a lot of your options because water is a crucial element for other types of paintings, like acrylic or water painting. If you’re a beginner, you probably have yet to acquire sufficient knowledge about oil painting and the wetting procedure. I would recommend reading the whole thing to learn more in this regard!

Why Wet Your Brush Before Oil Painting?
Wetting the brush is crucial because it helps to thin down the paint and makes the process smoother. As a result, it is easy to glide it across canvas or linen. I hope that you know that it is best not to oil paint on paper. Moreover, by wetting your brush, you also help with mixing the other colors. Your paint needs to be properly diluted before being set on any surface.
The wetting technique also helps add medium to your painting. In this case, “medium” refers to the type of paint used, in this case, oil, and the foundation on which you’re applying the paint, such as canvas, wood, etc. But wetting your paintbrush can influence your medium since the liquid element from the wetting procedure can influence the flow of your paint.
Hence, you should also ensure that you don’t wet the brush too much because that will lead to too much fluid. This leads to your paint being too runny, which can make the whole process of painting too difficult to control. The paint will slip away and slide all over, distorting your masterpiece. When you wet the brush, you should maintain the right amount of consistency.
What Happens If You Don’t Wet Your Brush Before Oil Painting?
Not wetting the brush beforehand will result in your paint being too sticky or stiff. This will make it difficult to glide the paintbrush over your canvas or paper. The paint strokes will end up looking messy.
Also, oil painting is itself a bit chunky. So, it leaves a stiff texture without proper dilution. As a result, a texture like this will leave a lot of rough marks, which might be difficult to fix since oil also takes a lot of time to dry. After it dries, the stiff texture might also begin to crack over time.
Moreover, if the brush is not wet, it will also make it impossible to mix the rest of the colors. All the colors will end up sticking to your brush. You will also not be able to create different shades of your own. More importantly, if you do not properly wet the brush, it will be impossible to clean your brushes afterward. So, a lot of your paint brushes might lead to wastage.
What To Use For Wetting Your Brush Before Oil Painting?
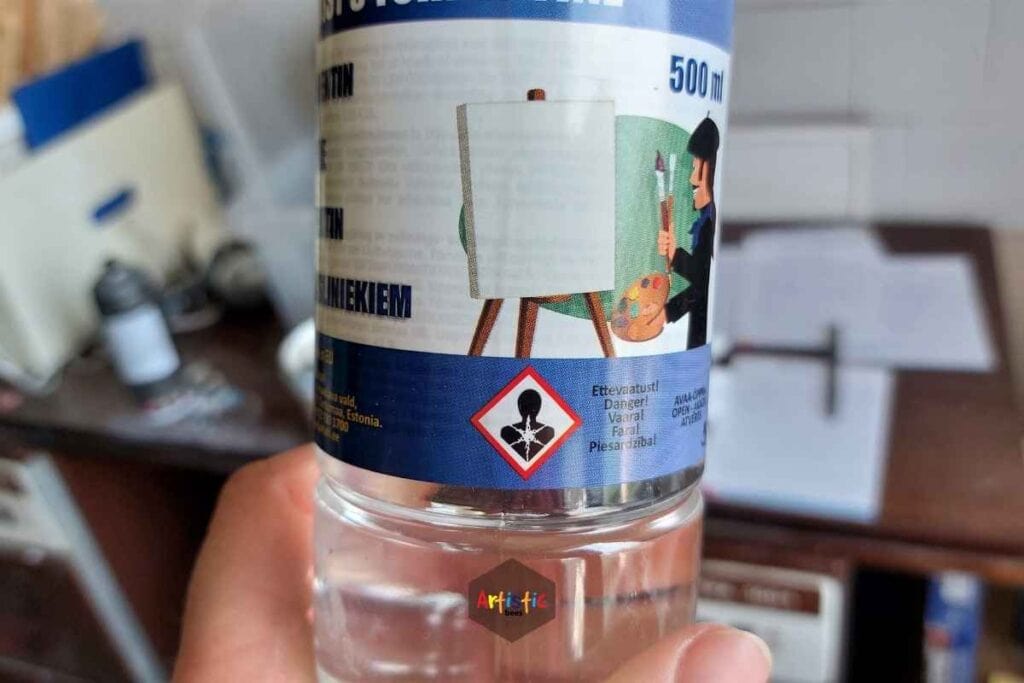
Since water is out of the question for wetting a paintbrush, artists use alternatives such as solvents to do the trick. They can also be used to clean the brushes afterward. Three kinds of solvents are popular.
White spirit
You can use white spirit as a slight coating over your paintbrush. This results in thinning the paint and ensuring the right consistency. It can also be used as a varnish.
Drawback
They have an unpleasant odor, similar to kerosene. Being exposed to it for a long time can lead to skin irritation. Usage over years can also result in breathing problems for some people.
Turpentine
Turpentine has a higher viscosity than white spirit. It is mostly used on wooden surfaces by coating the turpentine on the paintbrush only for the first layer. It has higher solvency and also helps with fast-drying if the turpentine has been distilled enough times.
Drawback
Turpentine evaporates fairly quickly and can be harmful to your eyes, skin, and lungs if you do not immediately cover its container after usage.
Citrus-based solvents
Examples of citrus-based solvents can be Zest-it and Oil of Spike Lavender. They are great as solvents and for thinning paint. You can dip your paintbrush for the wetting procedure. It is ideal for wooden surfaces.
Drawback
They tend to have a strong scent to them. It also makes the paint dry slower.
How To Clean Brushes with Solvents?
Since wetting the brushes is important when it comes to oil painting, it is also important that the brushes are clean to begin with. The solvents that help you paint are the ones that can also help you clean. The general procedure is:
Step 1: Always clean your paintbrushes as soon as you are done using them. That way, it is easier for the paint to come off.
Step 2: You will need two jars of solvent.
Step 3: First, wipe the paintbrush on a paper towel or rag so that some of the paint comes off.
Step 4: Dip the paintbrush in the first jar of solvent. When the color of the solvent changes, you will understand that much of the oil paint is coming off and tainting the colorless solvent.
Step 5: Dip the brush in and out several times.
Step 6: Take the paintbrush out and wipe it on a rag or paper towel again.
Step 7: Repeat the overall process a couple of times.
Step 8: In a small bowl, take linseed oil or something similar, dip the brush in it, and swirl it through the oil and against the bowl for some time. Linseed oil is essential because it protects the bristles and ensures they do not come off.
Step 9: Wipe your brush against the rag or paper towel again. Some of the oil will stick to the brush, which is not an issue.
Step 10: Dip the paintbrush in the second jar of solvent, which was colorless or not pigmented. If you see that the solvent is not changing its color and is in its original state, it means that the paintbrush has been cleaned properly.
Step 11: If not, you have to repeat the whole process and require a new jar of solvent to ensure that the paintbrush does not lose any more color when you dip it in the new jar.
General Precautions for Solvents
Despite making your painting process easier and keeping your paintbrushes pristine, most solvents can be detrimental to your health if exposed to them for long periods of time. Hence, you should take the necessary measures.
- Keep the solvents away from children, animals, and people with weak immune systems
- Never pour the solvent down the sink when it comes to disposing of it. This will cause pollution and can even damage your plumbing.
- Due to the toxic vapor emitted by solvents, make sure you are in a ventilated space. This can avoid dizziness, headaches, and respiratory issues.
- Change rags frequently after wiping your paint brushes on them. A rag must not consume too much of the solvent. They can self-ignite if they are not disposed of properly.
- Solvents are flammable, so keep them away from heaters and anything similar.
- Solvents contain toxic chemicals, so to avoid skin or eye irritation, wear gloves and goggles.
- Always wash your hands with soapy water to get rid of any harmful chemicals.
Safer Substitutes for Solvents
You can wet your paint brushes with other elements if the health hazards of solvents are too much for you. Keep in mind that although these are safer, they are not the best when it comes to thinning the paint or offering a smooth consistency. So, use them in small amounts because too much of them will make the paint layer fatter. Thus, your painting will wrinkle over time.
Walnut oil: With walnut oil, you can have wider and longer strokes as it enables more smoothness. It also offers greater control.
Linseed oil: The most common one, linseed oil adapts very well to changes in consistency and gradients. It also helps with drying.
Poppy Seed oil: The oil itself is extremely thin and smooth, a feat that can be daunting for starting artists. Control over this should be practiced before attempting to apply it to a painting.
Conclusion
Art should not have too many rules as they can hinder creativity. But to artists, their paint supplies are crucial. They want to put them to their best use and not waste any of them. Hence, since oil painting can be tricky, artists should be aware of the specifics, such as what to wet their paintbrushes with and in what amount.
With the help of this article, I hope you have gained some insight regarding the oil painting process and can now bring your vision to life without any technicalities. Happy painting!
Why Are Oil Paintings More Expensive Than Watercolors?
How to Frame an Oil Painting on Canvas Board? Complete Guide


