
If you have recently taken an interest in painting, you must realize how frustrating it is to start. Where do you even begin? There are a lot of colors, brushes, mediums, and techniques to learn! It’s only natural for beginners to be confused when taking up such a hobby. But don’t worry because we are here to save the day with a guide on painting for beginners!
Beginners should start with the primary colors: red, yellow, and blue, along with the basic black and white. You should invest at least 30 minutes every other day in painting to get the best learning experience. Acrylic painting is an excellent choice for beginners when getting into this hobby. Make sure every necessary thing, like brushes, canvas, and palettes, is near you.
Is there more you should know about before you pick up the brush? Indeed, there is! You cannot just pick up the brush and start stroking the canvas. Before you start, you need to know a few more things. We have taken the responsibility to gather better insights from veteran artists to improve your painting experience. So, without further ado, let’s dive right into it!
Ultimate Beginners Guide To Start Painting
If you’re not sure how to get your painting off to a good start, keep reading because I’m about to explain it to you in detail!
Choosing Colors
First things first, let’s talk about colors. There is an endless supply of colors to choose from, but that is only kicking beginners to the curb. You probably already know that some colors are impossible to mix.
You can start with the primaries: red, yellow, and blue, along with the basic black and white. But, some extra few colors are always nice to have.
Professional artists mostly use a limited color palette. Instead of having twenty different colors, they prefer to know just a few colors inside and out.
You may still begin with a dozen colors just for your satisfaction. As you gradually get the gist of it, you will find yourself narrowing it down to eight at best.
Spend Time Learning
Next, we’ll discuss the most valuable thing you’re investing in painting: your time. As far as practicing goes, it is much better to spend 30 minutes a few times a week than for a full day once a month.
If you have never painted before, try completing a painting at least once. After that, you can switch to doing more techniques.
With a few paintings under your belt, you will struggle with a few elements. Just practice that element on a blank canvas. This will dramatically improve your artwork and create a positive experience.
Prepare Your Area
If you’re a new painter, chances are you don’t have a place to practice your art yet. You might be able to find a corner of the garage or an extra room.
The good news is that you do not need much, to begin with. Though you might not need a massive open space, it is still amazing to have a prepared area designated for painting only.
Look for a space that offers more natural light as it shows your color mixes more accurately. Laying down a trash bag or plastic tablecloth is painting 101. It will protect the floor or countertop from getting stained.
Keep at least two to three feet available for you to take a few steps back and admire your work in all its glory.
Sketch First
When laying out a painting on the canvas, you may want to do a detailed drawing with a pencil first. This will help you create details easier. Also, you can make sure everything looks perfect before picking up a brush in your hand.
If drawing is not your cup of tea, you could trace the photo using a cheap projection. These are available at your local art store.
It is important for new artists to get a helping hand. You cannot just channel your inner Picasso into the very first painting. You could also try light sketching. A basic road map with your filbert brush will give you a better idea of how you want your picture to look.
Begin With Large Shapes
Start with the large shapes first before moving on to making fine detail on small figures. Smaller objects not only call for more focused work but also shift your focus from the whole picture.
If you are starting with acrylics, as most beginners do, working on larger shapes first is the right way to go. This is because acrylics dry up quickly, leaving very little time on your hand. Besides, once you are done with the bigger picture, you will have more time to focus on the finer details and finishing touches.
Mistakes
No matter how long you have been painting, you are bound to run into little things that happen. And that is not a big deal as long as you know how to correct them quickly.
Oils are often thought of as more forgiving because many little problems can be easily taken care of. You simply touch them with a clean brush, and that spot will completely disappear.
This is an easy fix for areas that appear too sharp. If you add some color and later feel that it just does not feel right, simply blend it away with acrylics when you are going back to make changes.
You can also sweep it under the rug. By that, we mean waiting for the paint to dry before painting the entire area once again.
Coming Up With Ideas
Something every artist has to face is how to come up with new ideas. Although this is true for beginners, you do not have to worry about this.
Just follow lessons online. There are countless videos on Youtube and tutorial websites dedicated to teaching fledgling artists. It is the easiest way to learn.
However, this does not mean you cannot put your own spin on a painting when using an instructional lesson. The more creative you are, the merrier! But, you will get the most out of the experience by trying to replicate it as closely as possible at least once.
Another great place to get ideas is friends and family. Share the news that a new artist is in town and needs creative ideas to work on!
Cleaning Up
Now, every living artist can agree that cleaning up is the least fun part of a painting. If you are using acrylic, you can easily clean your brushes with a bowl of soap and water. Just a few drops of dish soap mixed with water will be enough for some quick rinsing.
However, when it comes to oils, there are a few choices. The most well-known is, of course, the paint thinner. This may be the most effective choice out there.
Despite that, it still has the downsides of being smelly. Even the odorless kinds are filled with warning labels.
What you can do is use baby oil to clean oil paint out of your brushes. Though it will not deliver the same result as paint thinner, it brings about the desired results. One thing worth mentioning is that your brushes are more likely to last longer when cleaned with baby oil.
How To Choose The Right Medium? Beginner’s Guide
Do you creative artists want to explore uncharted territories (different mediums?) Of course, you do! This section will cover all the advantages and disadvantages of the most common painting mediums.
When experimenting with different mediums, even if just for a short time, it can be exciting and inspirational! Once you return to your original medium, you will have a better understanding of how to enhance it!
Paintings of different kinds of mediums, including oil pastels, ink, pencil, gouache, markers, spray paint, and silkscreen, along with some more listed below. Enjoy!
Painting With Acrylics

Advantages
First thing first, they are super easy to work with. They will welcome beginners to painting with open arms. Almost all acrylic paints, products, and mediums are not toxic, especially the artist-quality ones. In fact, the reason behind its popularity is its super-fast drying abilities.
Time flies by real quick when you use these. If that does not come as good news to you, then don’t worry because there are slow-drying ones as well!
They are available in all sorts of acrylic products. Thanks to the wide variety of choices, it allows you to tailor your paint to your needs. This goes hand in hand with personalizing your preferences for surface absorbency, sheen, and texture. You will notice them be as thin as ink or as thick as ink. It depends on the desired textural effect.
They also come in a variety of viscosities (thicknesses and consistencies). This means that they can appear and feel both like watercolor and like oil.
Disadvantages
To be honest, there is not much to say here except that ammonia is commonly found in acrylic binders. And although it is harmless, it can still trigger sensitivity in some people. Typically, when used in rooms without proper airflow.
Painting With Oils

Advantages
Oil painting takes a decent amount of time to dry. So, you can take your sweet time making changes and mixing colors while it dries.
Oil diffuses the color pigment in the paint, resulting in a lovely, deep glowing feature. This makes your artwork look brighter and more vibrant for the time being.
It may also be used for playful and experimental abstraction methods as well as realism, detailing, and blending. Great for beginners.
Disadvantages
Transparent workings, such as glazing, involve using oil solutions, which often include toxic chemicals. While oil paint alone is not toxic itself, some of the mediums used to extend it are.
You would need to reduce toxicity by using paints that contain mediums that are not toxic. Additionally, you would have to clean the brushes with baby oil afterward.
Even when it is dry, oil painting is never truly safe enough to touch. Thus, you have to be extra careful when handling and storing it.
When layering, you will need to use the chemistry accordingly since a less flexible layer needs covering with a flexible one. However, keep in mind that it is prone to crack when applied heavily.
The brightness of white and light-value colors dramatically reduces over time. Not to mention, most of them will turn yellowish as more weeks pass.
Lastly, you must spend quite some time before deciding to ship it elsewhere or varnish it.
Painting With Watercolors

Advantages
As the name suggests, watercolor naturally brings transparency to your painting. The water-soluble nature of this medium allows you to make changes even after it has dried up.
Disadvantages
As watercolor is often applied on paper, the paint will soak into and stain the surface. Naturally, it makes removing the paint once it has dried more difficult.
Watercolor artwork requires proper care after completion, such as framing behind glass. This is due to the fact that paper is not as archival as canvas or panel, as well as the watercolor paint’s nonpermanent nature.
Painting With Chalk Pastels
Advantages
Realistically, pastel is more popular as a drawing medium. However, completed pastel pieces are often regarded as paintings.
When working with pastel, drying times will not be a concern. The clock will always be on your side, even if you are working outside in the open air.
The final surface of a decent-quality pastel can have a unique and beautiful shine. Moreover, colors are available in lots of shades. Get creative and start blending and combining the colors right on the surface.
Disadvantages
Pastel becomes highly delicate on a surface, which means it needs protecting. You can do so with either glass or framing.
Other protective measures like spray fixatives and sealers will dull the color and shine of pastels. It would not be a good look, trust me.
Painting With A Mixture Of Mediums
Advantages
Contrary to popular belief, mixing paints is not a bad idea. Mixing mediums with different materials increases the options and gives your artwork a contemporary modern look.
Beginners would find combining and toying with colors fun. They will also learn a thing or two about color theories on the way.
Disadvantages
When exposed to air or light, non-fine art materials might fade over time. This includes materials designed for commercial and craft use.
UV or any other forms of protection are necessary. Try sealing coatings or UV glass frames.
When you layer one medium over another, you will need to go the extra mile to make sure they both properly stick to each other.
Everything Beginners Need To Know About Paint Brushes
Every paintbrush should feel as though it is an extension of your arm. However, there are so many types and sizes of artist brushes out there. This makes things way harder rather than easier. It can be a massive headache for those who are just getting introduced to painting.
In this section, let’s go through the many different types, shapes, and sizes of artist paint brushes (in that order) that you can use.
Types Of Brushes

Each and every paintbrush is unique in its own way. The bristles of a brush will usually tell you what kind of medium it is appropriate for.
Oil painting, for instance, needs brushes that are durable and have a good spring to them. Finer bristles will do the trick in acrylic painting, as it is not as aggressive as oil. Soft bristles that can hold a lot of water are best suited for watercolor.
Synthetic: These are prime choices for all painting mediums. Not only are they flexible, but also financially smart. You would not have to spend a fortune to get these. Almost all synthetic brush makers mix synthetic and animal bristles. Try to look for the ones that give you the best of both worlds.
But, try to stay away from cheap synthetic brushes because they are less likely to last a long time. The shape will also deteriorate soon.
Hog Hair: Hog hairs are stiff, springy, and cost-friendly. In oil painting, hog hair brushes tend to do most of the heavy lifting as they have stronger stiffness and durability. For basic oil painting work, beginners should use hog hair. However, keep in mind that these are not the smartest choices for fine detailing.
Squirrel: Squirrel hairs are ideal for watercolor and delicate oil-acrylic painting. Their incredibly fine, springy hair holds a lot of water, which is as perfect as a brush can get for water coloring.
Shapes Of Brushes
Round: The belly of a round brush is broad, while the end is long and tapered. These are flexible and versatile in all mediums. For both long and broad strokes and fine detail work, these are the ideal options. A sable hair round brush comes with a fine tip that allows you to work on delicate strokes.

Riggers: Riggers are similar to round brushes in appearance. The difference between the two is that riggers have much longer fibers. Long, thick ones like these are ideal for painting continuous line strokes. For example, a ship’s rigging, which is where its name originates from.
Filbert: These are a favorite among professionals because of their versatility. Filberts are a combination of a round and a flat brush. You can do more soft brushwork and blend with its cured tip. Try using filberts for any simple brushwork.
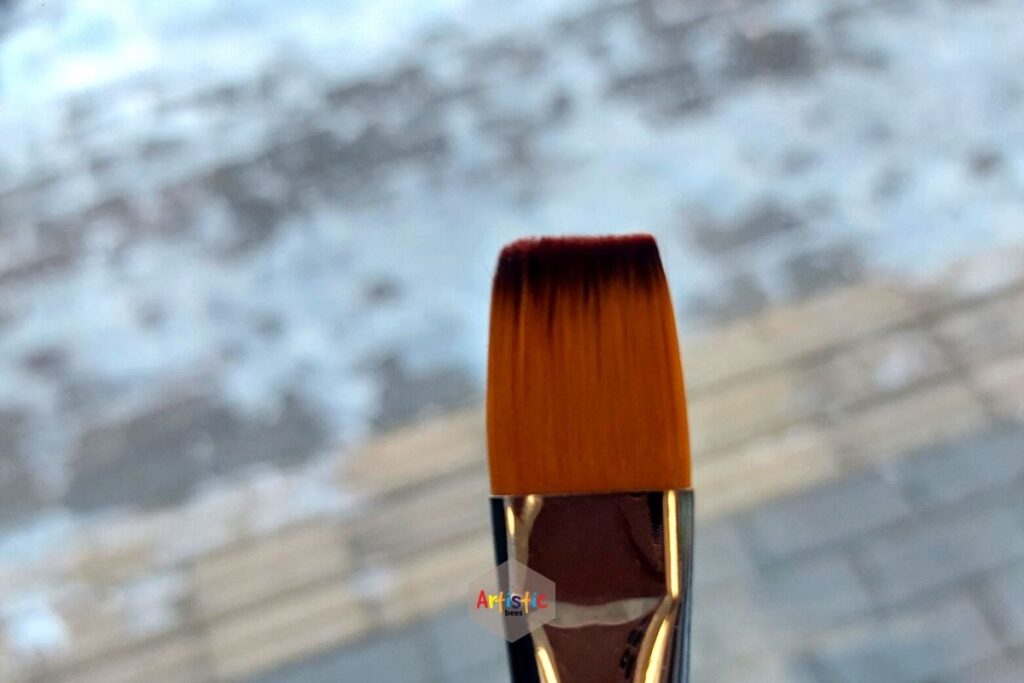
Flat: As the name suggests, these have a flat tip, which you can use to create thick, steady strokes or thin lines. Flat brushes are excellent for blocking solid color objects, such as buildings, roads, fences, and so on.
Bright: Almost the same as flats, except they come in shorter bristles. In oil painting, these will assist you with a bit more control than the flat ones. For creating better texture results, we would advise buying an art set that offers small bright bristles.
Fan: These are more of a one-of-a-kind type of brush. They are mostly useful for a range of specific purposes. Like painting leaves on a tree or adding texture to rocks or grass. However, they can be more than just for specialty uses. Whenever you need to work on scattered or broad strokes, these bad boys can come in handy.

Angular: The bristle trim on angular brushes seems like a sloping angle, with one side of the tip being longer than the other is. Though newbies should not use these, you are free to take a swing at them for your lesser artwork.
Sizes Of Brushes
There is no specific industry size for paintbrushes. Therefore, it is best to stick with one kind of brand.
You must keep a range of large, medium, and small brushes in your arsenal. Make sure you have enough medium to large ones because they will be doing most of the work in your paintings.
A general rule of thumb is that beginners should start with the largest brush they are comfortable with and work their way up down to the smaller size. Using big brushes has a number of benefits:
- Large brushes allow you to concentrate on creating meaningful and decisive strokes. Every stroke will matter when you are using a large brush.
- You will get caught up in unnecessary details if you only use smaller brushes. This keeps you from focusing on the bigger picture of the painting.
- Time is money, and large brushes live by that motto. These will save you time as you can cover a lot of surface area with just a single stroke.
Here are some other tips to help you kick things off:
Staining The Canvas: Use the largest brush you can find to cover more ground.
Sketching The Composition: Take medium-sized round ones to sketch the composition. If you want a somewhat rough landscape sketch, a fan brush will do the job.
Blocking In General Colors: To block in the solid colors, use a medium to large-sized filbert.If the shapes are really angular, you can use a flat brush here and there.
Adding Fine Detail: Making fine details is a very delicate part of a painting. Thus, you have to use the smaller filberts and round brushes to get the best results. In some cases, like painting water, leaves, or grass, you can use fan brushes.
Signing The Painting: Use a small round brush to sign your artwork. Also, the smaller ones help in adding further details.
Some Basic Things You Need To Start Painting
To get started, you will need some basic art supplies in addition to the paint. Here are six necessary things beginners need before they pick up the brush:
Paintbrushes: Synthetic brushes are the smartest option for beginners as they are affordable and easier to handle. Get a limited selection of synthetic brushes that come in various tip types (round, flat, etc.) Some paintbrush suggestions are for more experienced painters. Try asking your local art store which ones would be best for you.
Canvas Or Sketchbook: You can start by sketching and painting in a sketchbook or a journal. After getting used to it, switch your ideas to a bigger vision like a canvas. Artists have a wide variety of canvases to select from.
The type of weave and fiber used in the canvas’s making can have a huge impact. Discuss with your local art store about cheap, ready-to-use prepared canvas for beginners.
Easel: One of these will help your canvas stay fixated while you are painting. If you are an outgoing person, you can carry a portable easel and enjoy brushing it out in the open.
Palette: Color palettes come in a lot of shapes and sizes. What you should look for is the surface material. Now, this could be anything from glass, plexiglass, plastic, wood, or other materials. Again, your local art store’s recommendation on a cost-friendly beginner’s palette will be best for you. To give you a basic idea, look for the non-stick ones.
Rinse Water Cup: Keep a cup nearby and fill it halfway with water to rinse your brushes. No one needs to go out and buy a cup. Any old jar or a useless household cup should be more than enough.
Apron: Acrylic paint is not easy to clean, better cover your clothes.
Varnish: To protect your painting, apply a layer of varnish to it. That way, it will hold onto its glory to the end of time.
Conclusion
After you have finished your first painting, take a step back, and think about what you did right and what needs improving. Unless you are a prodigy, your first artwork will not be pleasant to look at, and that is fine. Even the masters started out as beginners.
If you want to join this artistic journey, we hope this guide on painting for beginners has been enough to help you get started on your merry way. Thank you for reading, and do not forget to enjoy painting!


